Carbonation in beverages is measured in volumes of C02, which refers to the number of liters of gas dissolved in one liter of liquid.
Sodas fall between 3.0 and 4.0 volumes, while energy drinks & tend to have lower levels.
The "Super Fizz" Category | 4.5 – 6.0+ Volumes
These have the most aggressive bubbles, often requiring special reinforced glass to prevent the bottles from exploding.
-
Champagne (e.g., Moët & Chandon, Veuve Clicquot): 4.6 – 6.0 volumes
Korbel California Champagne: 4.6 – 6.0 volumes
Traditional-Method Sparkling Wine (e.g., Chandon Brut): ~4.5 – 5.5 volumes
SodaStream (Highest Setting): Can reach up to 5.0 volumes
High Carbonation: Standard Sodas & Mixers | 3.5 – 4.0 Volumes
This is the "sweet spot" for most major global soft drinks.
-
Sprite: 3.8 volumes
Coca-Cola / Pepsi: 3.5 – 3.8 volumes
7UP: 3.7 volumes
Dr Pepper: 3.4 – 3.6 volumes
Canada Dry / Schweppes (Ginger Ale / Tonic): 3.2 – 3.5 volumes
Perrier (Bottled): 3.53 volumes
Club Soda: 3.0 – 3.5 volumes
Medium Carbonation: Sparkling Waters & Energy Drinks | 2.5 – 3.2 Volumes
These have a noticeable "zip" but are less sharp than a standard cola.
-
Mountain Dew: 3.2 volumes
Red Bull / Monster Energy: ~2.7 – 3.0 volumes
LaCroix (Canned): 2.8 volumes
Bubly / Polar / Waterloo (Canned): ~2.6 – 2.8 volumes
Spindrift: 2.8 volumes
S.Pellegrino: 2.68 volumes
Liquid Death (Sparkling): 2.55 volumes
Budweiser / Standard Lagers: 2.4 – 2.7 volumes
Low Carbonation: Fruit Sodas & Ales | 1.5 – 2.2 Volumes
These drinks are often described as "refreshing" or "soft" rather than "fizzy."
-
Guinness (Draught): 2.2 volumes
Fanta (Orange / Fruit flavors): 1.8 volumes
Jarritos (fruit sodas): ~1.8 – 2.1 volumes
Sanpellegrino Italian Sparkling Drinks (Aranciata / Limonata): ~1.8 – 2.1 volumes
Izze Sparkling Juice: ~1.7 – 2.0 volumes
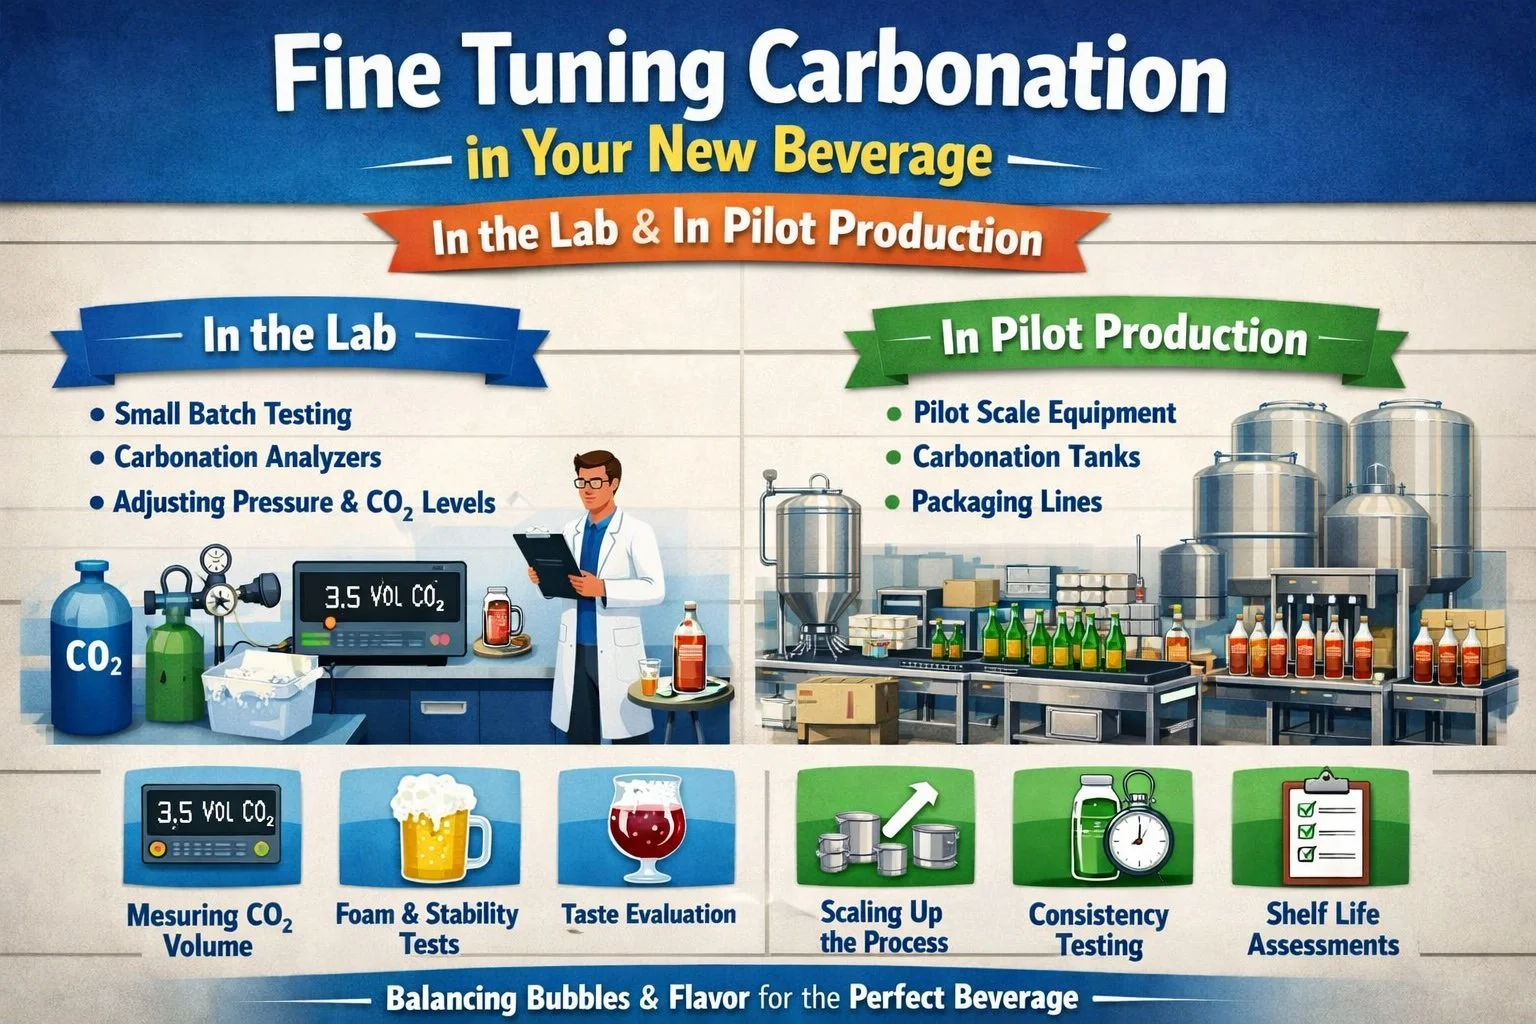
A guide to fine tuning carbonation in your new beverage - in the lab and in pilot production
Lab-made carbonation isn’t exactly the same as carbonation on a mass production line.
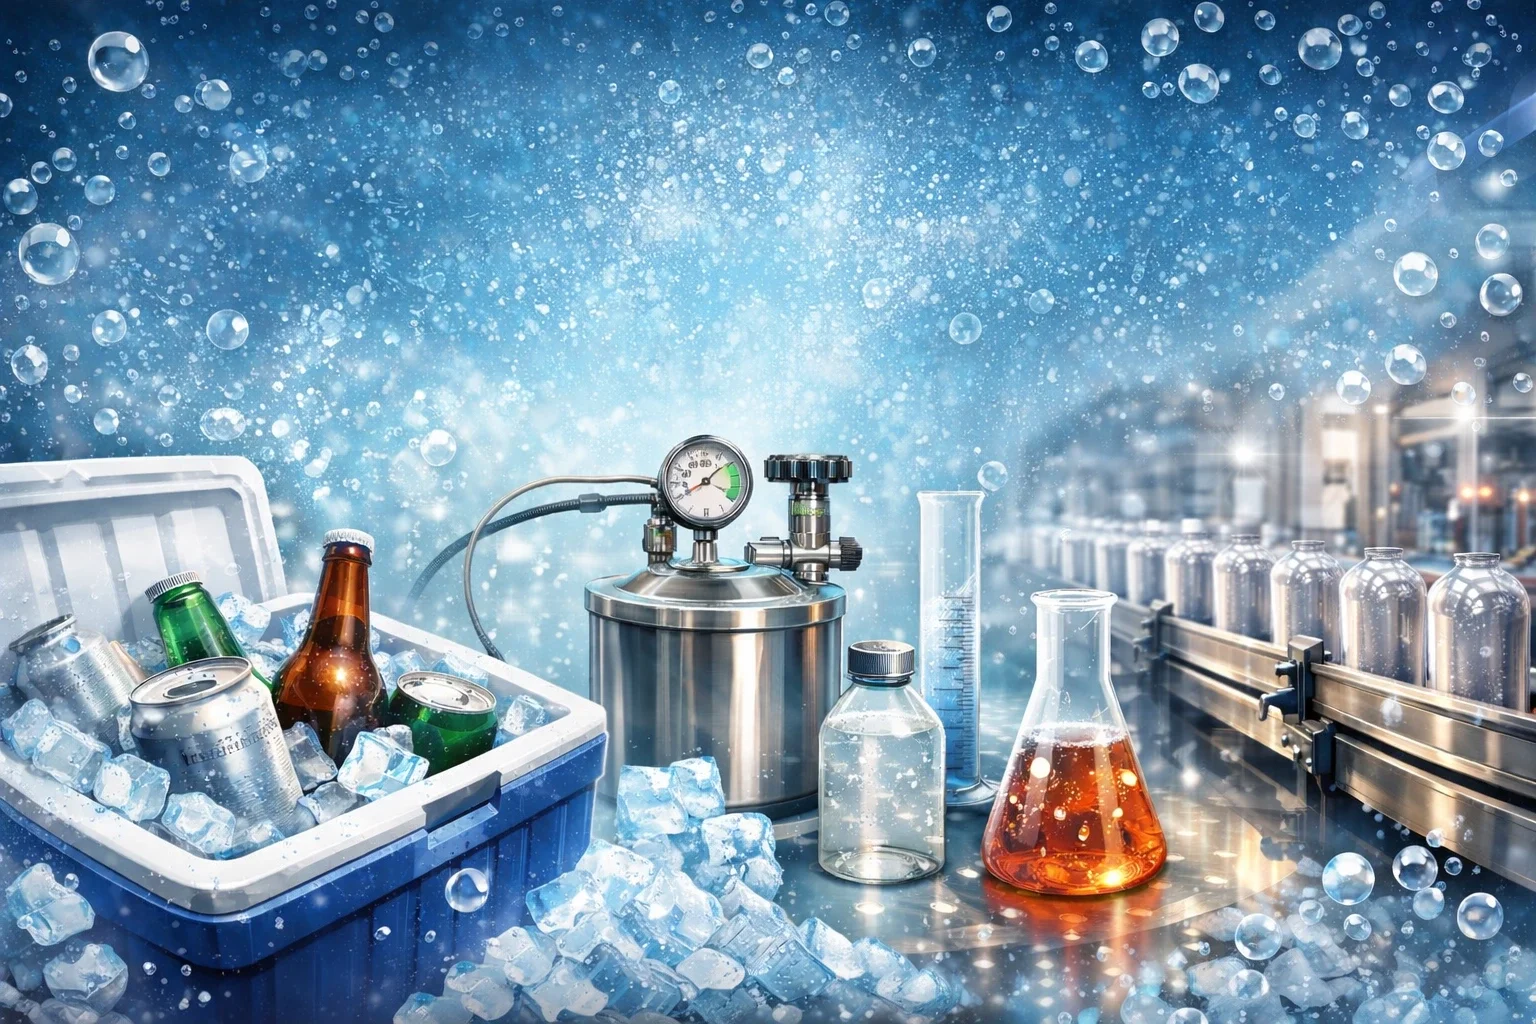
One way to get an accurate taste test is to bring ice-cold “reference” drinks that match the carbonation level you like, keep them in a cooler the entire time, and have the lab team keep both the references and new prototypes ice-cold before, during, and after carbonation and tasting. This lets the team compare side-by-side and adjust carbonation to match as closely as possible.
-
It’s important to understand that pilot production is the final step in beverage R&D. What you produce and taste in the lab is typically close to exact—but every facility and production line is slightly different, so the pilot run is where you confirm and “lock” the final profile.
In other words: the lab is where you develop and refine the product with a high degree of accuracy; the pilot is where you finalize it under production-like conditions.
Why Pilot Production Is the Final Dial-In Step
Even when the formula is fully developed, a few real-world factors can vary from facility to facility, such as:
chilling performance and temperature control
carbonation approach and how it integrates with filling
package format, fill behavior, and headspace management
line speeds, handling, and foam control
hold times, agitation, and other small process differences
Those details can subtly influence the final organoleptic characteristics—carbonation perception, aroma lift, flavor expression, mouthfeel, finish—and sometimes other practical characteristics as well.
The Lab Still Gets You Very Close
Lab carbonation and tasting are absolutely the right way to make decisions early—especially when you run tastings consistently and keep samples cold. The goal in the lab is to get as close as possible to your target so you can evaluate flavor fairly and make fast, confident adjustments.
Best Practice in the Lab: Reference Standards + Temperature Control
To ensure the lab prototypes track tightly to your target:
Bring ice-cold reference drinks that represent the carbonation level and mouthfeel you want
Keep references in a cooler the entire time and have the lab store them cold
Keep prototypes ice-cold before, during, and after carbonation and throughout tasting
Taste side-by-side and adjust carbonation to match the reference as closely as possible
The Takeaway
Lab = develop and get extremely close.
Pilot = finalize and lock the exact “production reality” profile—your final sensory profile and any facility-specific settings that make the product drink exactly the way you intend.